School is going to be over soon and you’ll be parted from your friends until Autumn comes again. Wouldn’t be nice to keep them with you during the entire Summer? Laura from Dacian Moon Handmade will show you how  You can get your friend’s autographs and wear them around your arm or neck all Summer along with a bracelet or necklace craft.
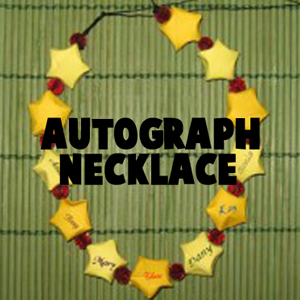
How to Make Autographed Friends Necklaces on Last Day of School or Camp
CRAFTS MATERIALS NEEDED:

Step 1.
Trace 6 parallel lines on the papers at 1 cm.
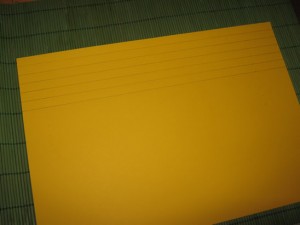
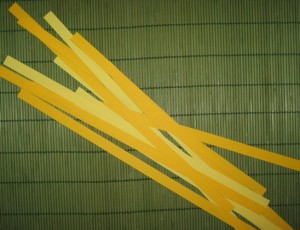
Cut them out, so you’ll have 6 orange strips of paper and 6 yellow.
Step 2.
Take a strip of paper. Start at one end and make a hoop around the other end. Take care that one of the ends to be short.
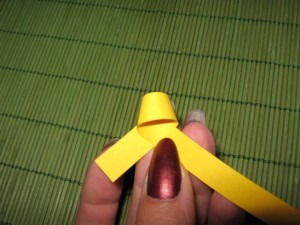
Slip through your short end into the hoop …
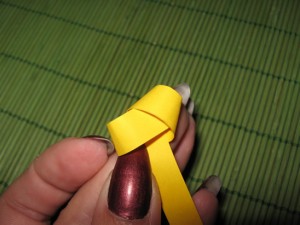
… and pull, but not too hard.
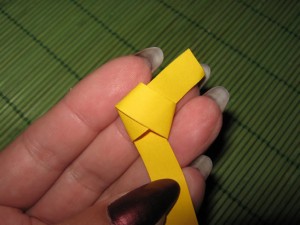
Turn it and fold the short end inside.
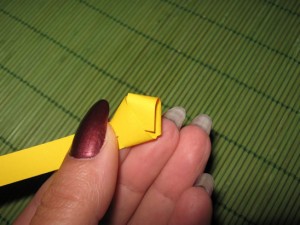
Turn it over again.
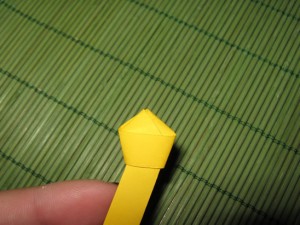
Now you must wrap around the pentagon…
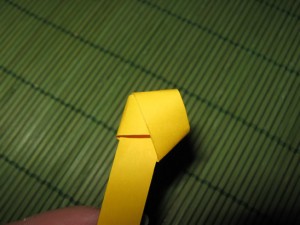
… following the red arrow…
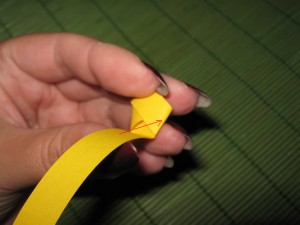
… like this.
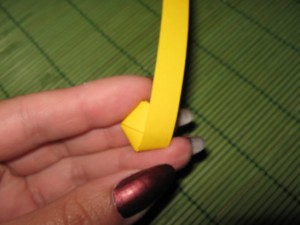
And again, on the dotted line, following the red arrow,
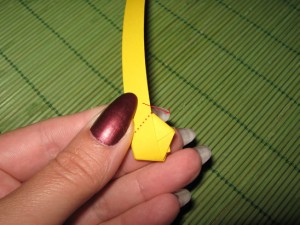
And again…
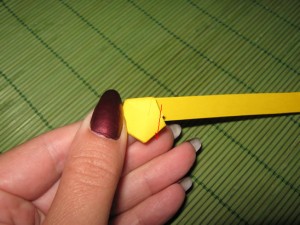
… until is just a small piece left.
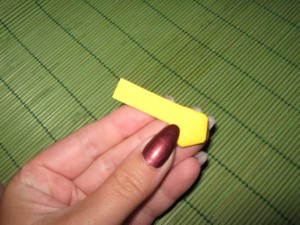
Now, you’re going to tuck that little left over tail into the body of the star.
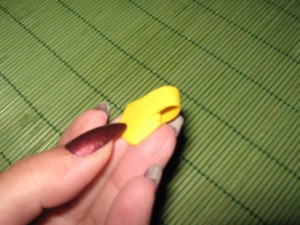
If is too long – as in my case – you can cut it with your scissors.
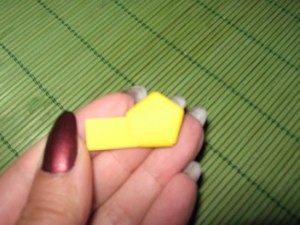
That’s the star.
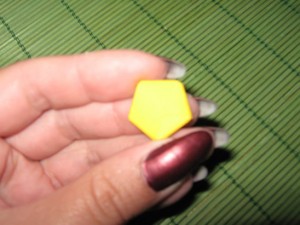
Step 3.
It’s time to puff it 
Using your nail or a sharp edge, press in, half-way between two points. Make sure you are totally perpendicular to the paper.
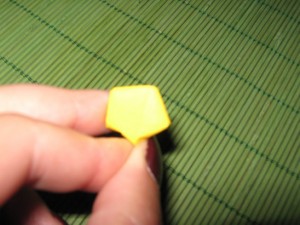
The first star is ready.
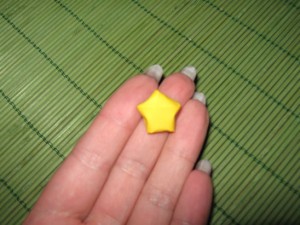
Make stars from the other paper strips too.

Step 4.
Take the string and make a knot at 10 cm from the end. This will let you tie the necklace when is ready.
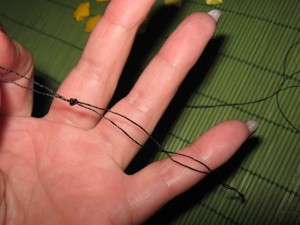
Step 5.
Let’s start to assemble the necklace. Start with a crystal – use the needle to add it…
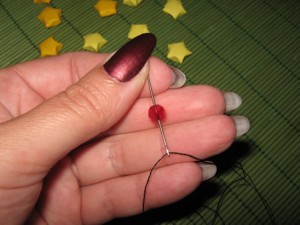
… then add an orange star…
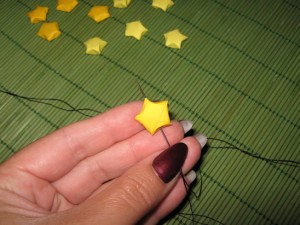
… a crystal, an yellow star and so on.
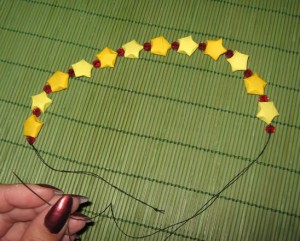
Step 6.
It’s almost ready. Take care to finish with a crystal and make a knot near it.
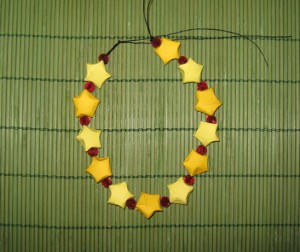
Step 7.
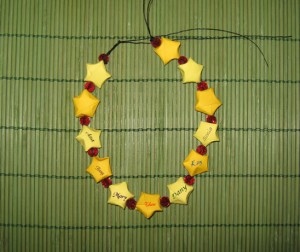
Now it’s fun. Ask your friends to write their name on the stars.
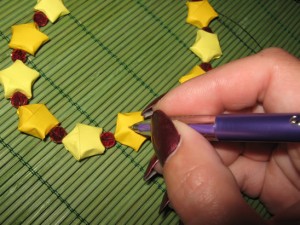
That way you’ll have them with you all the summer 


0 nhận xét:
Đăng nhận xét