Hiển thị các bài đăng có nhãn recycle. Hiển thị tất cả bài đăng

Thứ Hai, 29 tháng 8, 2011

Recycling ideas: Skirt tutoriral

Recycling fashion for women:   

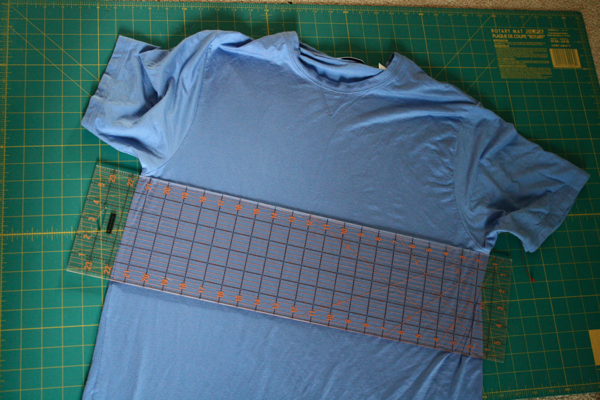
To determine what shirt size you should get, just make sure it will go around you. Most of the shirts I use are at least 24″ across (so 48″ total diameter). You lose 2-3 inches after you shirr it, so take that into consideration. Like I said, the bigger the better!
So, lay your shirt out flat, and whack it off right under the sleeves. (see my red tag on the left sleeve?) This doesn’t need to be perfect. That’s the beauty of this skirt. No measuring, no perfection. Wing it–you won’t be disappointed! But don’t throw away the top half of the shirt yet. I’ve got other projects for those parts!
I like to use thread the same color as my fabric. You don’t notice sewing boo-boos so much if the thread blends in. But if you’re gutsy enough, use a contrasting thread! You’ll also need an elastic bobbin so your skirt will shirr.
**If you don’t know how to shirr, check out some online tutorials or videos. It’s VERY easy! I was highly intimidated by it at first, but I urge you not to be! A great place to start isSandi Henderson’s tutorial.
You want to start close to the edge so you don’t have a huge ruffly waist band. There’s no need to hem the top band, your knit shirt won’t fray. I like my first row of stitching to be 1/8th of an inch from the top of the skirt. So I line my fabric up with the edge of my presser foot and put my needle in the right position.
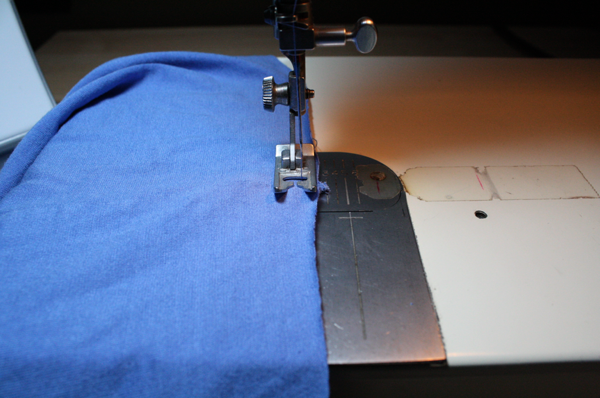
Now, I break a rule of shirring. Instructions will tell you to leave your threads and tie them. Well, I threw that rule out the window 6 skirts and 2 dresses ago! When I start sewing, I back stitch a few stitches, then sew all the way around the skirt. When I get back to my starting point, I back stitch twice (so back 3-4 stitches, forward 3, back 3, forward 3) then leave my elastic ends about 1/4″ long.
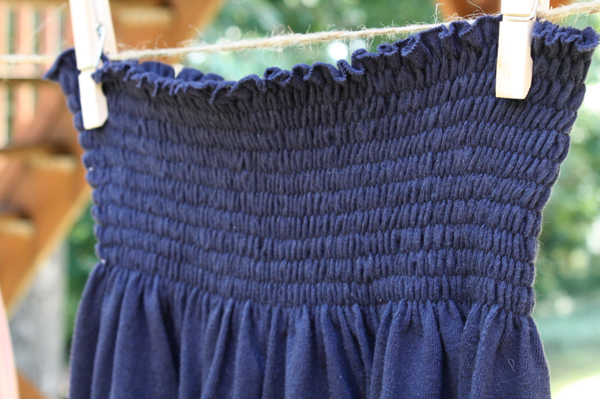
This is inside the navy skirt:
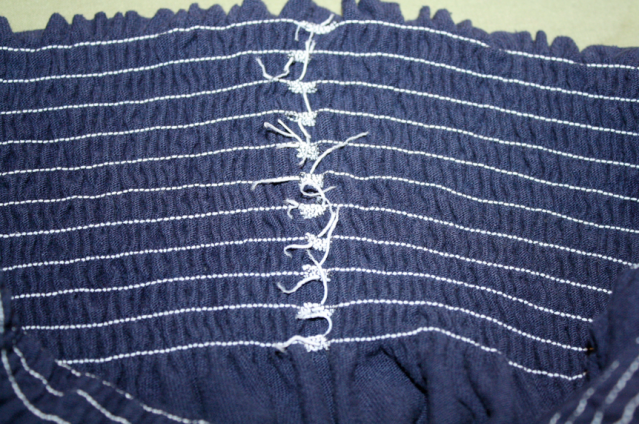
And what it looks like on the outside. It doesn’t stick out or look funny at all when you wear it. It’s not even noticeable until it’s pointed out. I’ve washed the navy and green skirts about 10 times each and the elastic hasn’t budged. So break tradition and save yourself some time!
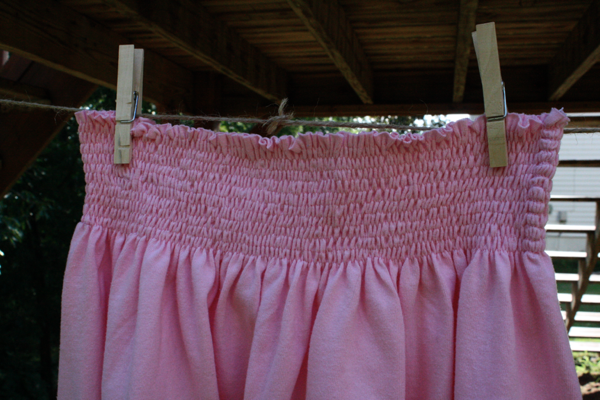
There’s no need to mark your rows. Just use the edge of your presser foot as your guide as you sew. I like to put my needle in the left position, but my machine doesn’t like that lately. Sewing at 1/4″ rows with the needle in the middle turns out just fine so that’s what I do 95% of the time.
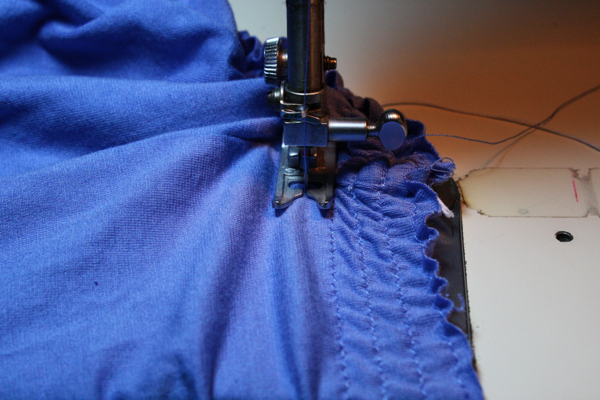
Unlike 100% cotton that doesn’t shrink much as you sew, knit shrinks up LOTS. So you need to make sure you pull the shirt flat as you sew. Use medium pressure when you pull. You don’t want to work against your machine, so don’t pull hard. Do it in small sections to maintain control over where you’re sewing.
**If your shirt isn’t shrinking up as your shirr, you’ll need to adjust your thread tension. Experiment on scrap pieces from your shirt until you get it to shirr properly.
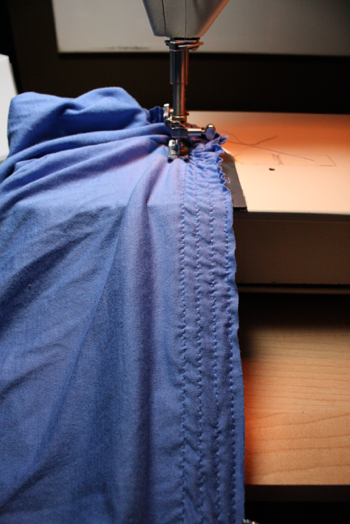
When you get back to the start, hold the fabric open and flat while you do your back stitching.
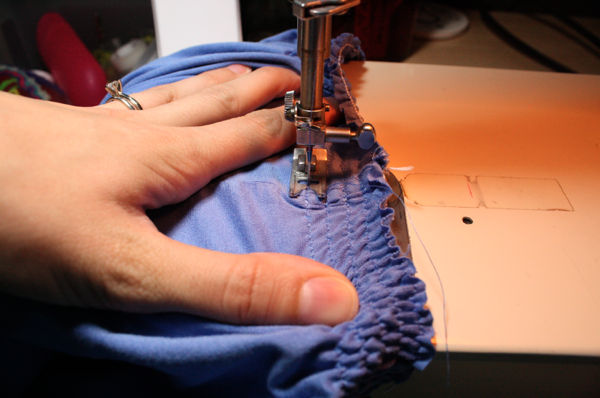
Just keep sewing as many rows as you want! I do somewhere in the neighborhood of 12-15, depends on my mood and the length of the skirt. I generally need to use 2-3 elastic bobbins, so you might want to wind several before you start sewing to save yourself the hassle. Check your bobbin between rows to make sure you have enough to get back around. It’s okay if you don’t, just back stitch a few times with the new one and keep going. It just doesn’t look as tidy that way.
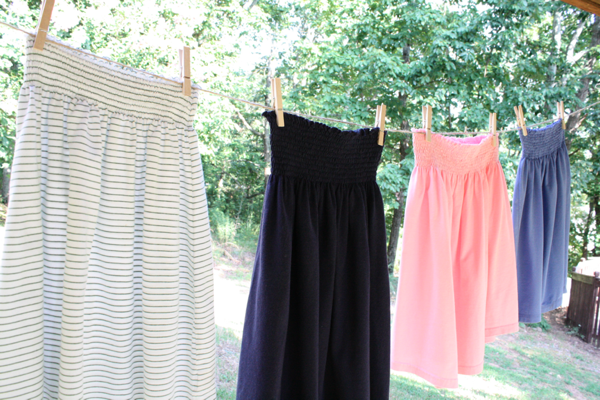
And that’s it! The best summer skirt you’ll ever own!
Source: sewlikemymom.com

Thứ Năm, 25 tháng 8, 2011

Crafts for summer: refashion for women


The Butter Cream Frosted Top Refashion

 Sewing patterns


So named because this top reminds me of butter cream frosted cupcakes.


But my inspiration actually came from The Cloud Nine Top from Francesca's Collection:


This is a really easy refashion. You just need 1 plain tank top and some sheer, lightweight fabric.

Here are the steps:

1.) Cut circles of varying sizes from your lightweight fabric (my lightweight cream fabric was the lining of a skirt in a prior life)

2.) Fold your circles into quarters

3.) Pin circles onto your tank top, around the neckline. Here's mine all pinned in place:


4.) Hand stitch your pieces in place with matching thread, I used small cross-stitches because they will show in places.

5. If your fabric frays, you can use a lighter and very carefully singe the edges to reduce fraying (although this won't work if your fabric is cotton and it may actually be better to do this step before you stitch your circles in place).
Source: mytwobutterflies.blogspot.com

Thứ Ba, 23 tháng 8, 2011

Recycled Card Making

recycled card

recycled card 1 Recycled Card Making
Recycled card also can be made from paper, beads, seeds and so on. After processing recycled newspaper, we now make the recycled card from newspaper.
recycled card 2 Recycled Card Making


As  you can see from images, the rolled paper (or newspaper) often used in the recycled card accent. It is combined with various material such as beads, seeds and so on. recycled card 3 Recycled Card Making
The recycled card look simple, but it is cheap and creative.
Lets your children make these recycled card. The rolled paper can be arranged to various shape they like.
recycled card 4 Recycled Card Making
Photo: @civismofoundation.org

Thứ Ba, 9 tháng 8, 2011

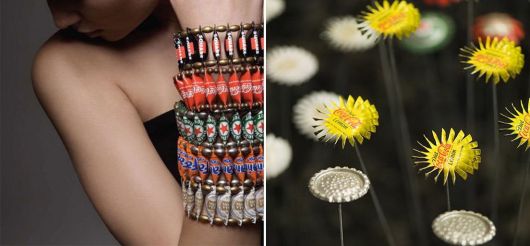
Recycling ideas: Hand Made from the caps of bottles. From jewelry to high art.

Lids from bottles - the usual rubbish, unremarkable, yet .. it is not used as material to create beautiful works of manual labor. I already wrote about the reproduction of the painting "  Starry Night "Van Gogh made ​​it their caps and different authors, since the topic captured the creative minds of the people. Its continued and expanded graduate of the Academy of Art and Design Bezalel in Jerusalem and made ​​a great contribution to modern fashion. Meanwhile, the problem of waste is acutely than not a version of its partial and quite artistic decision.
3518263_530x246imagesstories2451artbottlecapartyoavkotik02 (530x246, 24Kb)
3518263_530x247imagesstories2451artbottlecapartyoavkotik01 (530x247, 24Kb)
 Molly Wright - an artist from South Carolina, 
creates portraits of the covers. First, a metal sheet is applied to the image, then stacked and secured the lid, like scales on a snake skin. 
3518263_bright03 (530x210, 75Kb)
3518263_molly01 (530x313, 112Kb)    
Found on the internet

Thứ Sáu, 5 tháng 8, 2011

Recycling ideas: CREEPY CUTE LEAF GHOSTS, kids craft ideas

CREEPY CUTE LEAF GHOSTS


Creepy leaf cut ghosts

CREEPY CUTE LEAF GHOSTS

Scare up a little fun by adding these haunted holiday decorations to your holiday table. You can even write peoples' names on them to turn them into place cards. Just coat the leaves with sparkly white frost and then draw on ghost faces!

Supplies: 
Silk leaves  (found in craft and department stores)
White fabric paint
White or silver glitter
Paintbrush or foam brush
Scissors
Waxed paper
Black permanent marker
Here's how:
1. Turn each leaf so the points face up. Use the scissors to round the top to resemble a ghost's head.
2. Working on a waxed paper-covered surface, paint the leaves white (front and back). If needed, give them a second coat.
3. While the paint is still tacky, sprinkle the surfaces with glitter.
4. Once the paint dries, use the marker to draw on ghostly facial features.
sheknows.com

Thứ Hai, 1 tháng 8, 2011

Recycling ideas: Hours of CD ROM, kids craft ideas


Watch for a sysadmin cute turned "computer" clocks tutorial


Materials for the manufacture of watchesTo manufacture them it took me quite a bit. Glue gun, old CD-ROMs, the buttons on the keyboard, screwdriver and a small Chinese watch. I promoted the clock with a screwdriver, carefully removed the needle and pulled out the movement. Before you shoot the arrow, write down or memorize the sequence in which they were located on an hourly roll. The CD drive in the center is a convenient little hole.In it, I inserted the shaft of the clock and on the reverse side of the disc taped clockwork with the glue gun.Parse the old clock


CD - Clock

 
Then carefully put the arrow and put in the battery. Hooray, the clock runs! Now do the numbers. We do them out of old buttons from the keyboard. First, the button must be prepared. Leg will interfere with bonding to the disc, so I carefully sawed off a small handsaw and the excess part of the stalk slightly honed fine sandpaper. Now they are firmly and evenly fit on a CD.

Keyboard buttons 

 
Do not forget to finish the job on timeI marked out the disc with a protractor to 12 parts. At first, held two perpendicular lines through the center (12-6, 3-9). Then, each sector using a protractor divided into three parts. After that, you only glue gun to glue the figures are ready to watch.

 
You can glue the rear guard, to watch had stopped. Or a small loop on the clock mechanism, for which you can hang the clock on the wall. The last thing I summed up the right needle and put the laptop beside her husband. I hope my gift to him like that.


Clock next to your laptop

 Recycling ideas: Hours of CD ROM, kids craft ideas
Found on the internet

Thứ Năm, 28 tháng 7, 2011

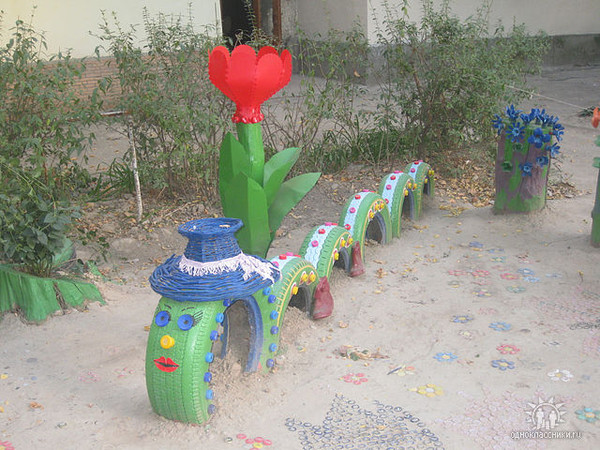
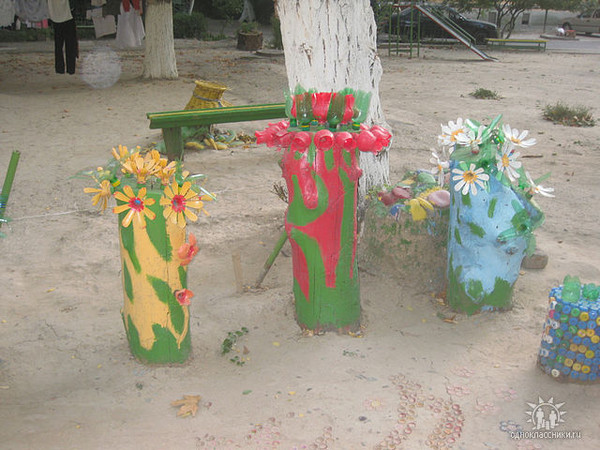
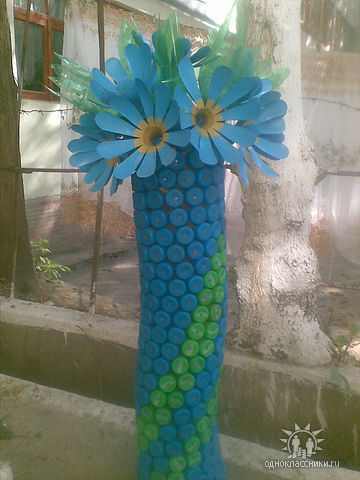
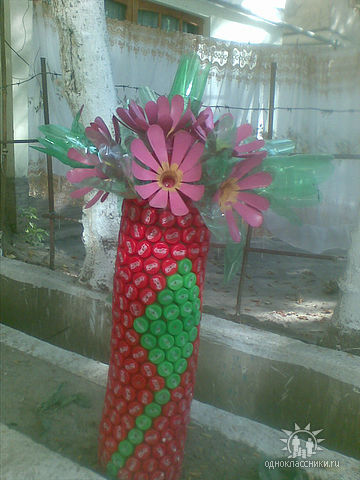
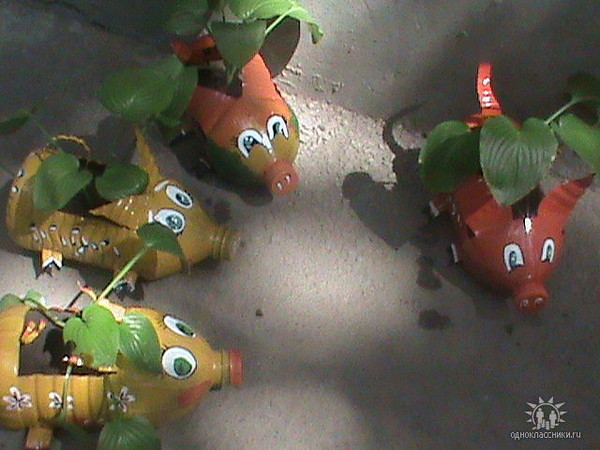
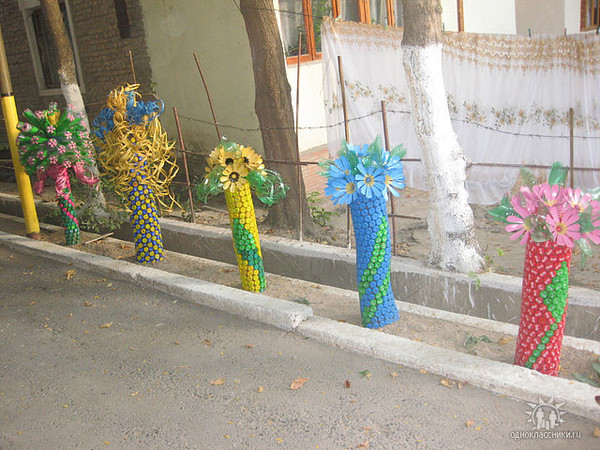
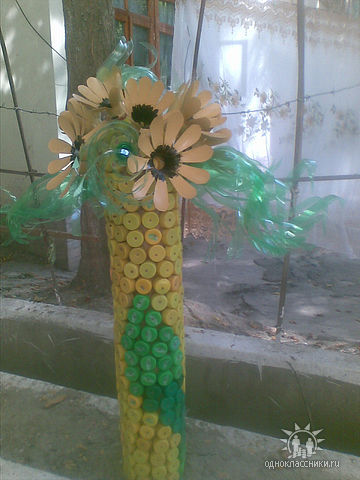
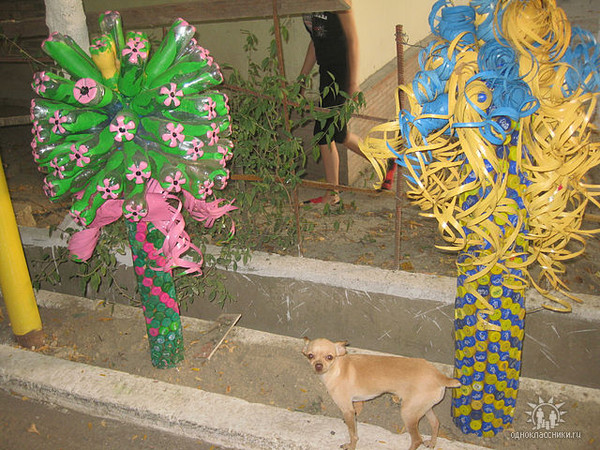
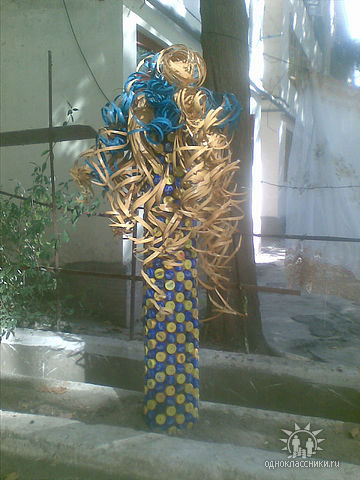
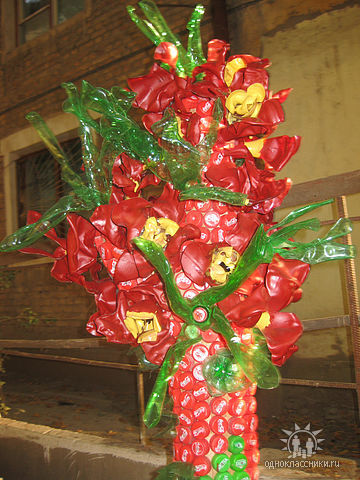
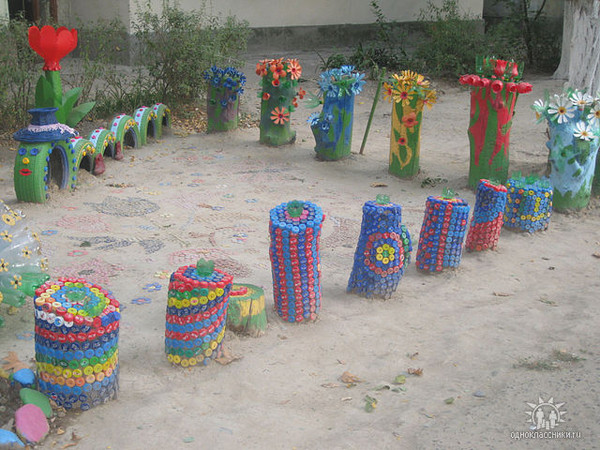
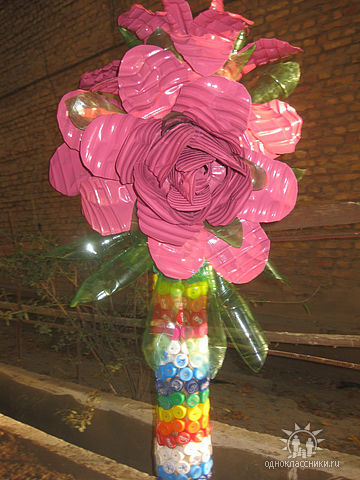
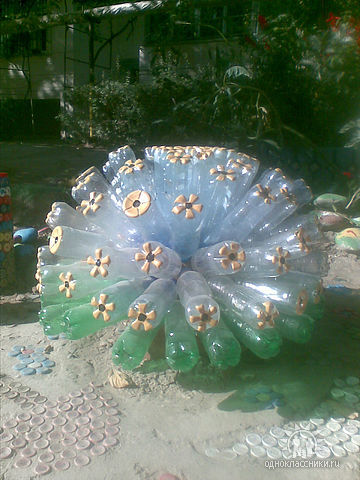
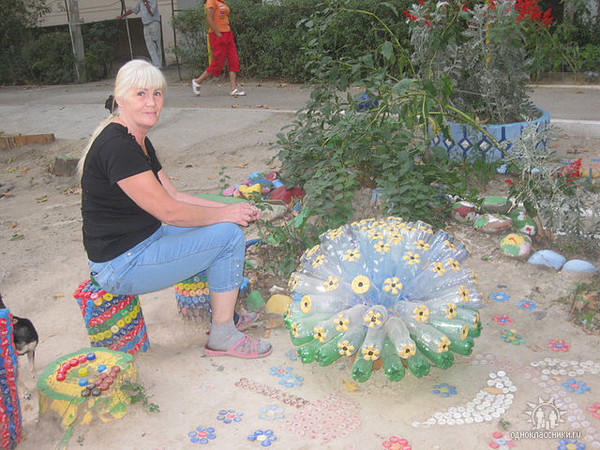
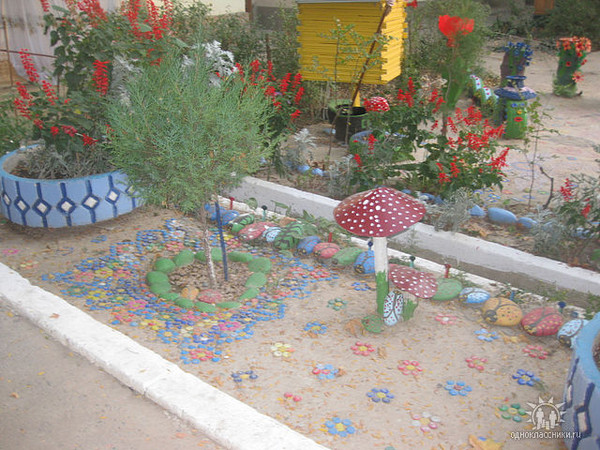
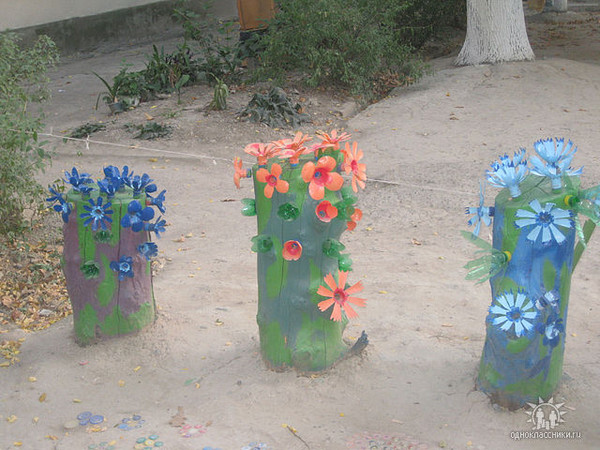
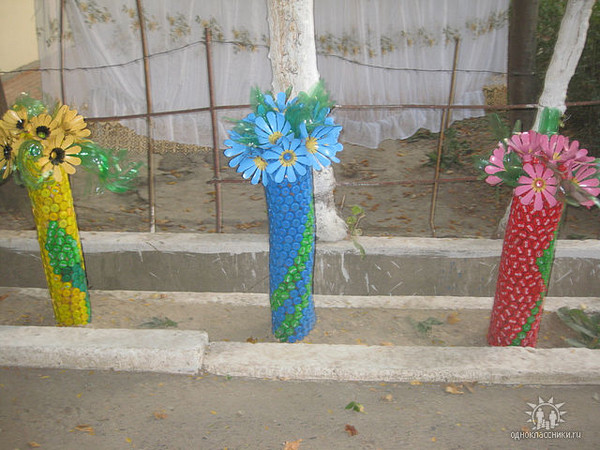
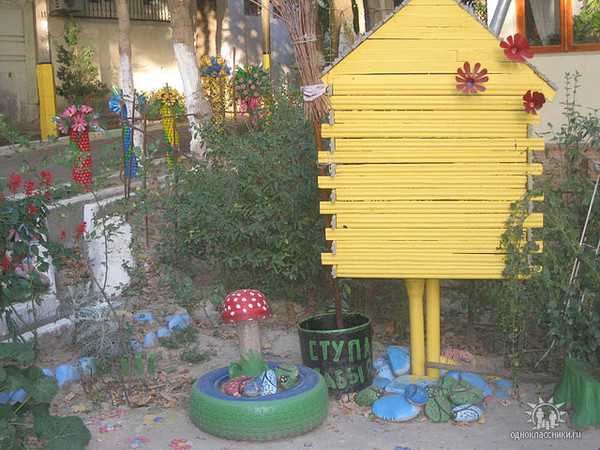
Recycling plastic bottle: kids craft ideas


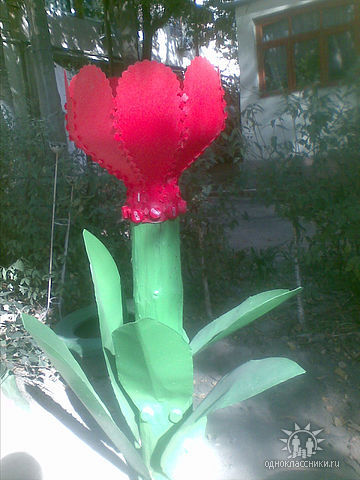
Flower made of plastic bottles


Labels

Accessories Adult English afghan Amigurumi amirugumi Ảnh Art Art + Design Ẩm thực baby crochet baby knitting Baby learn bag Bags balloons Bé học toán Bé tô màu Bead belts books booties bows boxes bracelet cake candles candy Cards carving carving fruit carving fruits Cắm hoa Cắt may Chơi mà học clay coloring Coloring - Tô màu crafts crochet crochet pattern cross stitch Curtain cutting paper Dolls drawing Drawing - Vẽ dress Đan len Đất nặn cho bé earring Easy dot Embroidery Embroidery - Thêu fashion Felt Floral arrangements - Cắm và bó hoa flower arrangement flowers crochet Folding paper Folding towels food food decor Funny garden Gấp giấy Gấp hộp Giầy - Dép gift Gifts glass gloves Hair hair clip hat hats holiday craft holiday crafts home and garden jewelery jewelry Kết hạt Khăn - Mũ kirigami knitting knitting pattern knot Lam do choi Làm đẹp Làm đồ chơi Làm hoa vải Làm thiệp Learning english macrame Magazine make up making flower making flowers Making flowers - Làm hoa Making toys Mẫu móc Mẫu móc hoa mittens Móc Móc đường riềm nail Nail art necklace necklaces Nến trang trí Nghệ thuật Nghệ thuật cắt giấy Nhà đẹp or Origami Origrami painting Painting - Sơn màu Paiting - Sơn màu Paper Patchwork Phông nền làm ảnh pictures pillow Pillows plastic Play and learn for baby poncho Quilling paper Quilt recycle recycling repair work ribbon ring rings rugs Sách tiếng anh cho bé scarves sewing shawls shoes and sandals skirt skirts slippers soap socks sweater tablecloths Tatting Tết dây Thêu Thiệp Thủ thuật Thư giãn Tin học Văn phòng Toán Trang điểm Trang trí Truyện tranh Túi xinh Tutorial Tutorial video underwear Valentine's day Video Video dạy móc video tutorial weaving wedding wood