Hiển thị các bài đăng có nhãn carving fruit. Hiển thị tất cả bài đăng

Chủ Nhật, 16 tháng 10, 2011

Carving art: How to make vegetable flowers


Also great for a party!
Carving art: How to make vegetable flowers

Flat vegetable flowers are great for dressing up your bento to finish up. Put them on broccoli, on rice, on sandwiches, etc… anywhere you want. It adds a nice finishing touch and will definitely cutify your bento.
Carrot flower:
- Carrrot
- Cheese for #2 (optional)
[Carrot flower #1]
1. Slice a carrot and make upside down V-shape incision around the carrot.
2. If you don’t like eating carrot skin, you can cut the outside part.
[Carrot flower #2]
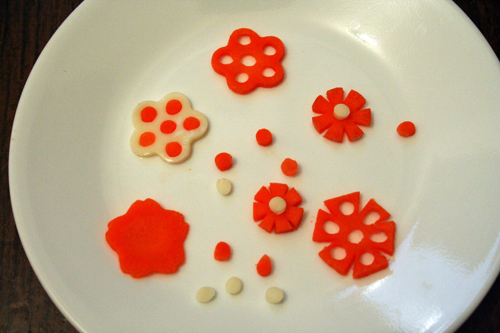
1. Slice a carrot, and use any flower shape cookie cutter to cut out the carrot. *You can just stop right here, and your carrot already looks much cuter than ordinary boring carrot like. (Check out the Path to Totoro Forest)
2. Use a straw to make holes on where petals are, and on the center.
Carrot flower #1 looks really adorable on broccoli. I usually use baby carrots for this, but you can just use the smaller part of a carrot. The secret weapon to make simple yet fancy-looking Carrot flower #2 is a straw! You can also make flowers out of cheese, apple, ham, anything that’s soft enough to make a hole with a straw. In the picture below, I made a flower with cheese, and swapped carrot bits & cheese bits.
If you don’t have a cookie cutter, don’t worry. You can make a Carrot flower #1, and use a straw to cut out holes. (like the one at the right bottom) If you have hard time getting a veggie piece out of a straw, just blow it out from the other end. I save carrot bits I get from cutting carrot with a straw. You can use them as eyes or cheeks (if you’re making animals or people), or just sprinkle them around in your bento!
A cookie cutter and a straw can make an ordinary carrot look pretty fancy!
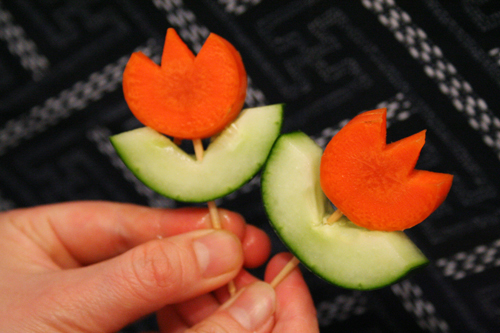
Carrot tulip is more 3D, so you can stick it in the corner of your bento box like veggie sticks.
[Carrot tulip]
- carrot
- cucumber
1. Slice a cucumber about 3/4 inch thick, and cut it in half.
2. Cut out V-shape where seeds are.
3. Cut the carrot like a tulip.
This is what a tulip looks like in my head.
4. Stick toothpick through the cucumber and carrot, and done!
Also great for a party!
Thứ Tư, 5 tháng 10, 2011

Gift presents for women: How to make a fruit platter


How to make a fruit platter

 
It's spring, which means the beginning of backyard barbeque's and pot lucks. One of my favorite go to's is this fruit platter.
It looks super complicated and professionally done but it is really quite easy. This fruit platter was something I made from things on hand for my daughter's birthday breakfast.

You start with a pineapple. Make sure the top is nice looking since you will be using that.
And get a nice large platter out.
 
Place the pineapple on it's side and cut down the middle all the way through the pineapple
including the top
It should look like this
Now cut your half into quarters
not forgetting to cut the top of the pineapple as well
In this next step, you are preparing to get the fruit out of the rind. Make a cut from the bottom and then carefully cut around the bottom getting the fruit free from the rind.
It should look like this. The rind is on the right, the fruit is on the left in my hand. Then with your fruit in hand, cut out the core.
I then place my fruit back into the rind and cut slices down throughout the pineapple.
Do this with all four of your pineapple quarters and then place them on your platter.
I then usually take the pineapple slices and fancy them up a bit. This leaves room for other fruit to sit in the rind. Think blueberries, grapes, kiwi or cherries.
Strawberries are almost always a part of the platter. I love the contrasting colors. During the summer, I put watermelon around as well.
I add other fruit to fill in some of the spaces.
And there you have it! A beautiful fruit platter for your next gathering.

Thứ Hai, 3 tháng 10, 2011

Food gifts: Fruit Bunnies

These Fruit Bunnies are a healthy treat, with a few sweets on top! A wonderful, and colorful, spring time edible craft!
Ages: 5 and up 

Here's what you'll need for ONE Fruit Bunny...• An orange or apple
• 2 Candy fruit slices
• 3 Jelly beans 
• String cheese
• Toothpicks
• Knife
• 1 Mini Marshmallow
• 2 Peanut shaped candy (optional for Orange bunny) 

Here's how you make them...
1. Wash and dry your fruit. All of the bunny's features are attached to the fruit with toothpicks. It is easiest to insert the toothpick into the candy first then into the fruit. If your fruit is very hard it may help to make a hole in the fruit first with the toothpick before you attach the candy.
2. If you are making the orange bunny and want to attach some peanut candy bunny feet you will need to do that first. Attach each foot with a tooth pick into the bottom sides of your orange.3. Place two jelly bean eyes in the middle of your fruit. 

4. To make the whiskers you will need to cut a small, long rectangle from your string cheese (make it about as wide as your fruit). Then cut 3 'whisker' strips on each end of the rectangle, being careful not to cut all the way through. 

5. Push a pink jelly bean onto the end of a toothpick. Slide the string cheese whiskers onto the toothpick, pushing them up to the jelly bean nose. Push the toothpick into the fruit, underneath the eyes.6. Attach your fruit slice candy with toothpicks to the top of the fruit to make the bunny's ears.
7. Attach a mini marshmallow to the back of the fruit to make his bushy tail.
Food gifts: Fruit Bunnies

Thứ Bảy, 1 tháng 10, 2011

Flower gifts: Edible Centerpiece, The Veggie Bouquet tutorial

edible vegetable bouquet
Most of you have probably seen an edible bouquet before – usually of the fruit or cookie variety – but this particular design is definitely a stand-out!
The edible veggie bouquet pictured above is from Marley Majcher‘s 40th Birthday Party (more details coming soon) and serves as great inspiration for a super-stylish take on this idea… from the choice and arrangement of the veggies to the chic display in a simple glass cylinder vase filled with black lentils.
This would be an impressive addition to the appetizer buffet for everything from parties & showers to Mother’s Day brunch! Here’s another design that features skewered veggies spraying from a melon “basket” garnished with thyme:
edible vegetable bouquet
I’m also loving the idea of doing “mini versions” of edible bouquets for guests in lieu of individual salads – and serving them in small terracotta pots with a side of veggie dip. I’m definitely going to play around with that idea soon… =)
And below is a video I found with some DIY info on creating edible bouquets… You do have to sit through a 30-second ad to get to the video, but once you get to it, there’s some good DIY info in there about 2 types of edible bouquets: one fruit version and one veggie version featuring clever “roses” make from asparagus and radishes.


How to Make Edible Bouquets

Flower gifts: Edible Centerpiece, The Veggie Bouquet tutorial

Thứ Năm, 29 tháng 9, 2011

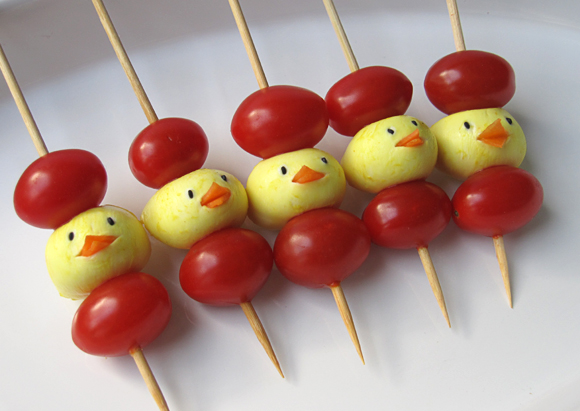
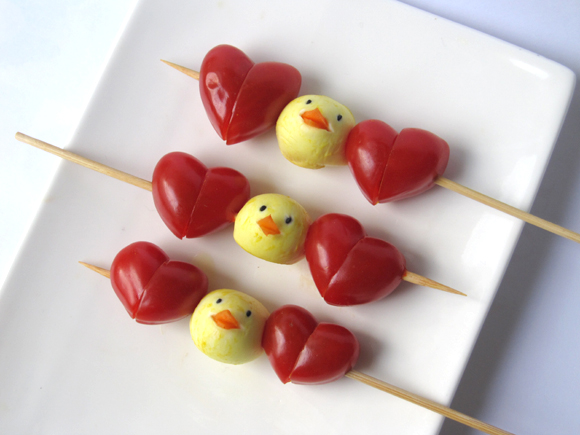
Heart and Food gifts: Mini-Mozzarella Chicks & Cherry Tomato Skewers

 Carving duck and heart tutorial


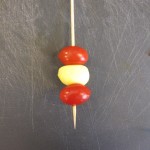
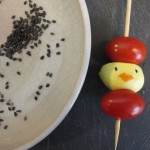
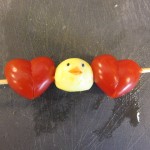
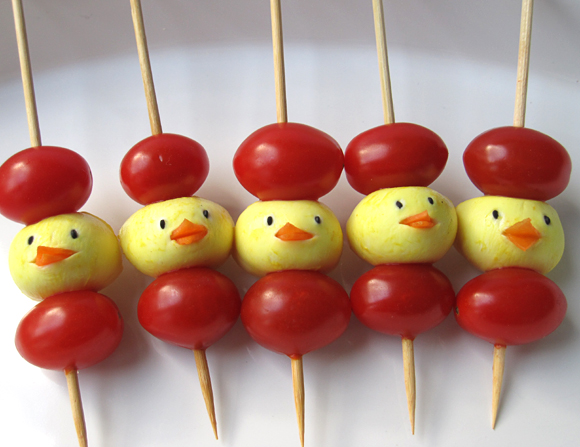
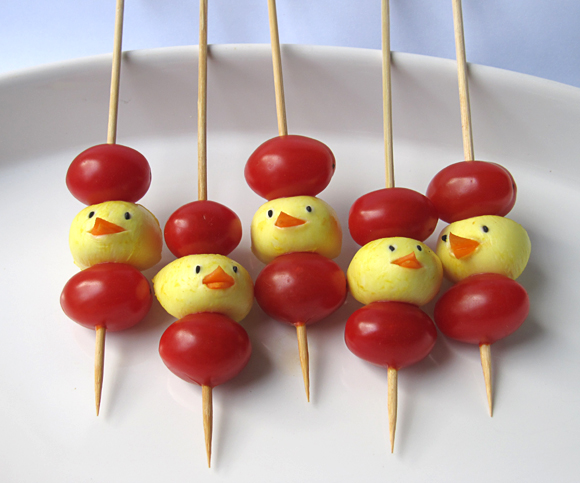
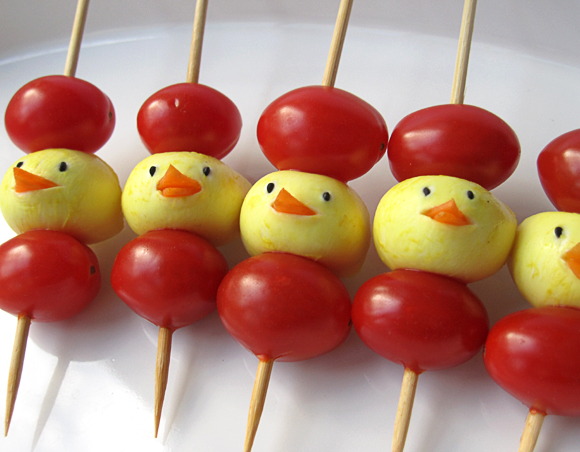
A neat snack for your spring theme party or Easter celebration: mozzarella chicks marinated in curry and cherry tomatoes on a stick. Easy to make and it will sure impress kids or grown-up lovers of cute food. You can serve these skewers as a party snack, garnish salads with it, take them to a picnic or put them in a lunchbox.
I prepared these skewers before Easter but didn’t find time to post it until now, sorry :-P
There’s this gorgeous food blog called L’exquisit where I’ve seen these neat Italian lollies made with mini-mozzarella and cherry tomatoes. I really like the presentation and wanted to make something similar. In the end, it turned out to look quite different but oh well, the ingredients are still alike.

How to make Mozzarella Chicks & Cherry Tomato Skewers
  • mini-mozzarella (if you can’t get your hands on this, you can probably replace it by scooping out balls from other cheeses like gouda, etc. Cube-shaped pieces might be nice as well. Or smash and mix feta with cream cheese to form little balls.)
  • curry powder
  • carrot
  • black sesame
  • cherry tomatoes (must be oval-shaped if you want to make hearts)
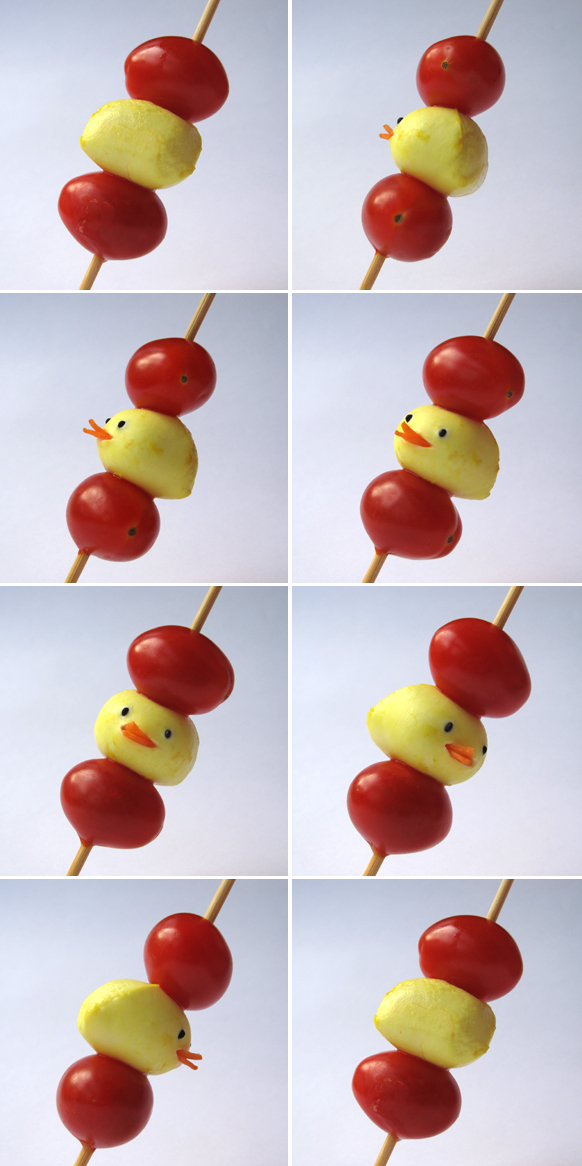
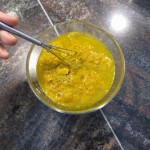
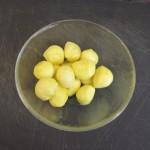
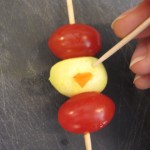
    1. Marinate the mozzarella in a 1:3 curry-water mixture for about an hour, then rinse gently with cold water. Pierce mozzarella and cherry tomatoes with a skewer.
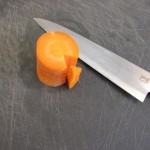
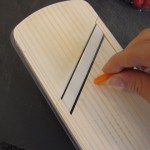
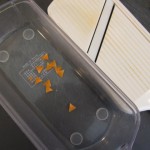
    1. Cut out a triangle from a carrot like shown in the picture and then slice it thinly with a knife or mandolin slicer.
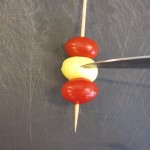
    1. Slit the mozzarella a little and place 2 carrot triangles inside.
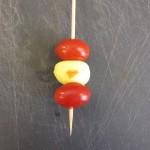
    1. Pierce 2 holes with a toothpick and stick in 2 black sesame seed.
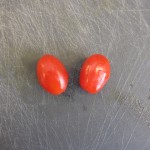
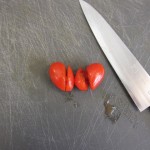
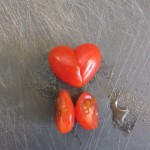
    1. For making heart-shaped cherry tomatoes, refer to this post: http://eyecandy.nanakaze.net/?p=128


Heart and Food gifts: Mini-Mozzarella Chicks & Cherry Tomato Skewers

Labels

Accessories Adult English afghan Amigurumi amirugumi Ảnh Art Art + Design Ẩm thực baby crochet baby knitting Baby learn bag Bags balloons Bé học toán Bé tô màu Bead belts books booties bows boxes bracelet cake candles candy Cards carving carving fruit carving fruits Cắm hoa Cắt may Chơi mà học clay coloring Coloring - Tô màu crafts crochet crochet pattern cross stitch Curtain cutting paper Dolls drawing Drawing - Vẽ dress Đan len Đất nặn cho bé earring Easy dot Embroidery Embroidery - Thêu fashion Felt Floral arrangements - Cắm và bó hoa flower arrangement flowers crochet Folding paper Folding towels food food decor Funny garden Gấp giấy Gấp hộp Giầy - Dép gift Gifts glass gloves Hair hair clip hat hats holiday craft holiday crafts home and garden jewelery jewelry Kết hạt Khăn - Mũ kirigami knitting knitting pattern knot Lam do choi Làm đẹp Làm đồ chơi Làm hoa vải Làm thiệp Learning english macrame Magazine make up making flower making flowers Making flowers - Làm hoa Making toys Mẫu móc Mẫu móc hoa mittens Móc Móc đường riềm nail Nail art necklace necklaces Nến trang trí Nghệ thuật Nghệ thuật cắt giấy Nhà đẹp or Origami Origrami painting Painting - Sơn màu Paiting - Sơn màu Paper Patchwork Phông nền làm ảnh pictures pillow Pillows plastic Play and learn for baby poncho Quilling paper Quilt recycle recycling repair work ribbon ring rings rugs Sách tiếng anh cho bé scarves sewing shawls shoes and sandals skirt skirts slippers soap socks sweater tablecloths Tatting Tết dây Thêu Thiệp Thủ thuật Thư giãn Tin học Văn phòng Toán Trang điểm Trang trí Truyện tranh Túi xinh Tutorial Tutorial video underwear Valentine's day Video Video dạy móc video tutorial weaving wedding wood